Let’s face it, venom drawing is more than just sketching a comic book character. It’s about diving deep into the world of superheroes and anti-heroes, where creativity knows no bounds. Whether you’re a fan of Spider-Man’s deadliest nemesis or simply looking to enhance your art skills, this guide will take you through everything you need to know about drawing Venom. From understanding his anatomy to perfecting those iconic symbiote tendrils, we’ve got you covered. So grab your pencils and let’s get started.
When it comes to venom drawing, there’s a lot more to it than just throwing some random black blobs on paper. This isn’t just about copying what you see in the comics or movies. It’s about understanding the character, his personality, and how that translates into art. Venom is more than just a villain; he’s a complex being with layers that can be explored through your sketches.
Now, before we dive into the nitty-gritty details, let’s talk about why venom drawing is so popular. It’s not just because Venom looks cool (though, let’s be honest, he does). It’s because he represents something deeper. He’s a symbol of chaos, power, and transformation. And when you’re drawing him, you’re tapping into that same energy. So whether you’re a beginner or a seasoned artist, this guide will help you unlock your full potential.
Read also:Salome Munoz The Rising Star You Need To Know
Understanding the Basics of Venom Drawing
Who Is Venom? A Quick Primer
Before you start sketching, it’s important to know who Venom is. Venom, or Eddie Brock, is one of Spider-Man’s most iconic rivals. But he’s not just a regular bad guy. Venom is a symbiote, a living organism that bonds with a host to create a powerful and terrifying creature. This unique aspect of his character is what makes venom drawing so fascinating.
Here’s a quick rundown of Venom’s origins:
- First appeared in The Amazing Spider-Man #300
- Originally bonded with Eddie Brock, a disgraced journalist
- Known for his strength, agility, and ability to manipulate his form
- Has a deep connection with Spider-Man, often mirroring his powers
Understanding Venom’s backstory will help you infuse your drawings with more depth and meaning. It’s not just about the physical appearance; it’s about capturing the essence of the character.
Essential Tools for Venom Drawing
What You’ll Need to Get Started
Now that you’ve got a basic understanding of Venom, let’s talk about the tools you’ll need. You don’t have to break the bank to get started, but having the right supplies can make a huge difference. Here’s a list of essentials:
- Pencils: Start with a good set of graphite pencils (2B, 4B, 6B)
- Sketchbook: A high-quality sketchbook with thick paper is ideal
- Eraser: A kneaded eraser is perfect for making subtle corrections
- Ink Pens: Use fine-liner pens for detailing and shading
- Blending Tools: Stumps or tortillons for creating smooth transitions
Having these tools at your disposal will make your venom drawing experience smoother and more enjoyable. Plus, they’ll help you achieve that professional look you’re aiming for.
Breaking Down Venom’s Anatomy
The Unique Structure of a Symbiote
One of the biggest challenges in venom drawing is capturing his unique anatomy. Unlike traditional human figures, Venom’s body is constantly shifting and morphing. His symbiote nature allows him to stretch, twist, and transform at will. This means you’ll need to think outside the box when it comes to proportions and structure.
Read also:Lisa Ann Russell A Deep Dive Into Her Extraordinary Journey
Here are a few tips to help you master Venom’s anatomy:
- Focus on the core structure: Start with a basic human figure, then add the symbiote elements
- Experiment with tendrils: Venom’s tentacle-like appendages are a key feature. Practice drawing them in different positions
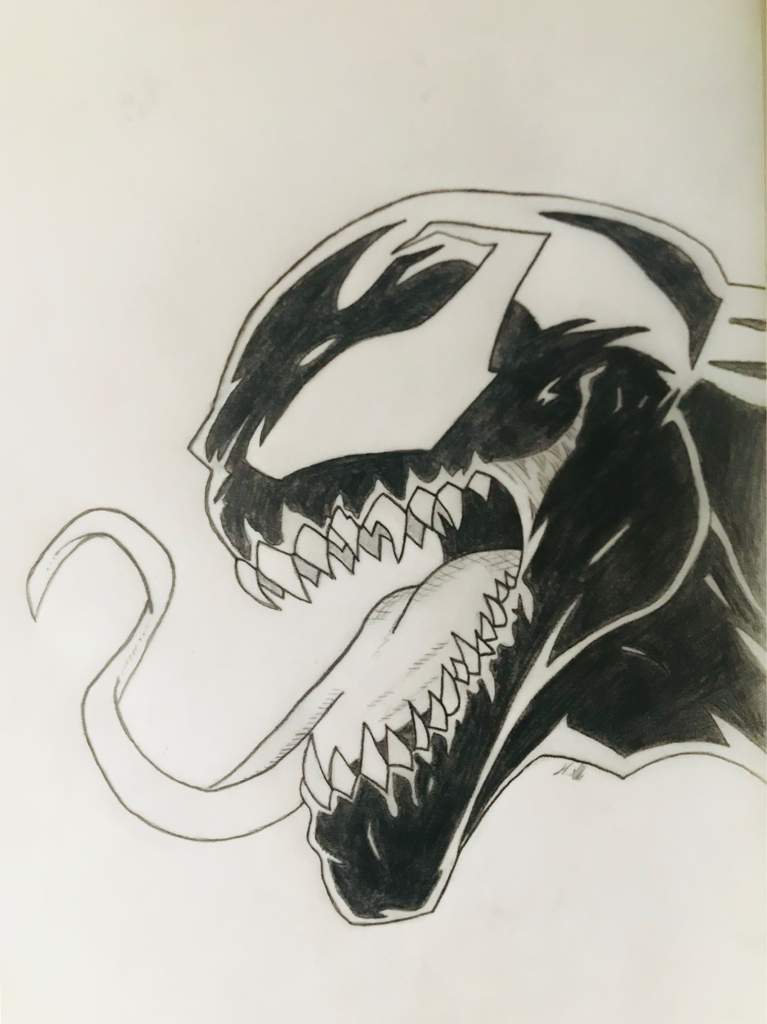
- Pay attention to the teeth: Venom’s sharp, menacing teeth are iconic. Spend time perfecting their shape and placement
- Don’t forget the eyes: Venom’s glowing white eyes are crucial for capturing his menacing gaze
By breaking down Venom’s anatomy into manageable parts, you’ll find it easier to create a cohesive and dynamic drawing.
Mastering the Art of Symbiote Textures
How to Create Realistic Symbiote Effects
One of the most distinctive features of Venom is his symbiote texture. It’s not just black; it’s alive, pulsating, and full of energy. Capturing this texture in your drawings can be tricky, but with a little practice, you’ll get the hang of it.
Here’s how you can create realistic symbiote effects:
- Use cross-hatching: Layering light and dark lines can add depth and texture
- Add texture with dots: Stippling can create a more organic, living look
- Blend with a stump: Use blending tools to smooth out harsh edges
- Incorporate shadows: Pay attention to light sources and how they affect the symbiote’s appearance
Remember, the key to mastering symbiote textures is practice. The more you experiment with different techniques, the better you’ll become.
Step-by-Step Guide to Drawing Venom
From Sketch to Final Piece
Now that you’ve got the basics down, let’s walk through a step-by-step guide to drawing Venom. This process will help you create a polished and professional-looking piece.
- Start with a rough sketch: Use light pencil strokes to outline the basic shape of Venom’s body
- Add details: Focus on the facial features, tendrils, and other key elements
- Ink your drawing: Use fine-liner pens to trace over your pencil lines
- Shade and texture: Add shading and symbiote textures to bring your drawing to life
- Final touches: Erase any remaining pencil marks and refine any details
Following these steps will ensure that your venom drawing is both detailed and visually striking.
Common Mistakes to Avoid in Venom Drawing
How to Improve Your Art Skills
Even the best artists make mistakes, but learning from them is what sets the greats apart. Here are some common pitfalls to avoid when drawing Venom:
- Ignoring proportions: Venom’s body may be flexible, but it still needs to follow basic anatomical rules
- Overloading on details: Too much detail can make your drawing look cluttered and messy
- Forgetting the eyes: Venom’s eyes are a focal point, so don’t skimp on them
- Not practicing textures: Symbiote textures take time to master, so keep practicing
Avoiding these mistakes will help you create cleaner, more polished drawings. And remember, practice makes perfect!
Exploring Different Styles of Venom Drawing
From Realistic to Cartoony
One of the great things about venom drawing is that there’s no one “right” way to do it. You can experiment with different styles to find what works best for you. Whether you prefer a realistic approach or a more cartoonish style, the possibilities are endless.
Here are a few styles to consider:
- Realistic: Focus on capturing the symbiote’s texture and movement
- Cartoony: Simplify the details and emphasize the character’s personality
- Comic Book Style: Use bold lines and dynamic poses to mimic the look of comics
- Abstract: Play with shapes and colors to create a unique interpretation
Don’t be afraid to try new things. You never know what style might become your favorite!
Tips for Improving Your Venom Drawing Skills
Level Up Your Art Game
Improving your venom drawing skills takes time and dedication, but there are a few tricks that can help you progress faster. Here are some tips to keep in mind:
- Study anatomy: Understanding human anatomy will help you create more believable figures
- Practice consistently: Set aside time each day to practice your drawing skills
- Seek feedback: Share your work with others and ask for constructive criticism
- Study other artists: Look at how professional artists approach venom drawing and learn from their techniques
By incorporating these tips into your routine, you’ll see noticeable improvements in no time.
Resources for Aspiring Venom Artists
Where to Find Inspiration and Guidance
There’s a wealth of resources available to help you become a better venom artist. From online tutorials to art communities, you’ll find plenty of support and inspiration. Here are a few resources to check out:
- YouTube Tutorials: Channels like Proko and Ctrl+Paint offer excellent drawing tips
- Art Communities: Websites like DeviantArt and ArtStation are great places to share your work
- Books: Look for books on anatomy, shading, and character design
- Online Courses: Platforms like Skillshare and Udemy offer courses specifically for comic art
These resources will provide you with the knowledge and tools you need to take your venom drawing skills to the next level.
Kesimpulan: Take Your Venom Drawing to New Heights
And there you have it, folks! A comprehensive guide to mastering the art of venom drawing. Whether you’re a beginner or an experienced artist, the tips and techniques outlined in this article will help you create stunning pieces that capture the essence of Venom.
Remember, the key to success is practice. Keep sketching, experimenting, and pushing yourself to improve. And don’t forget to share your work with the world. The art community is full of supportive individuals who will appreciate your efforts and offer valuable feedback.
So what are you waiting for? Grab your pencils and start drawing Venom today. And while you’re at it, why not check out some of our other articles on comic art and character design? There’s always something new to learn, and who knows? You might just discover your next passion.
Call to Action: Leave a comment below and let us know what you think about venom drawing. What challenges are you facing, and how can we help? Don’t forget to share this article with your fellow artists!
Table of Contents
- Understanding the Basics of Venom Drawing
- Essential Tools for Venom Drawing
- Breaking Down Venom’s Anatomy
- Mastering the Art of Symbiote Textures
- Step-by-Step Guide to Drawing Venom
- Common Mistakes to Avoid in Venom Drawing
- Exploring Different Styles of Venom Drawing
- Tips for Improving Your Venom Drawing Skills
- Resources for Aspiring Venom Artists
- Kesimpulan: Take Your Venom Drawing to New Heights